
Just follow the steps.
1. Go to smartpoifirmware.circusscientist.com
2. download (after changing values) – downloads a file blink.zip
3. extract blink.zip
4. open extracted main.ino in Arduino ide (I am using 1.8.19
5. Settings for Arduino:
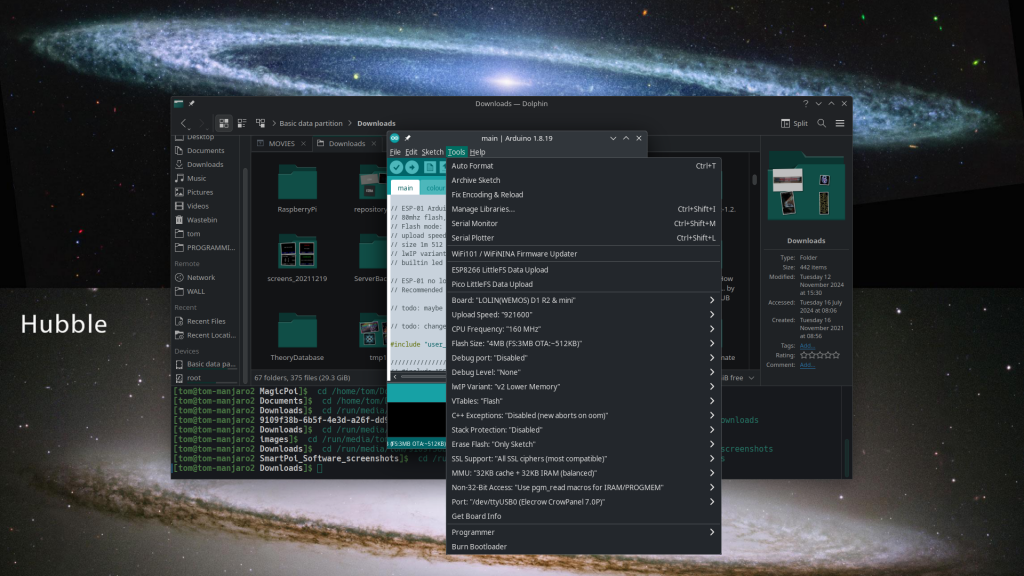
6. Upload ->
7. Tools -> ESP8266 LittleFS Data Upload
(Don’t have the ESP8266 LittleFS Data Uploader intalled yet? Follow this tuturial to install it – on Arduino 1.8.x)
8. Open Serial Ouput in Arduino IDE (Tools -> Serial Monitor)
9. Press Reset button on D1 Mini
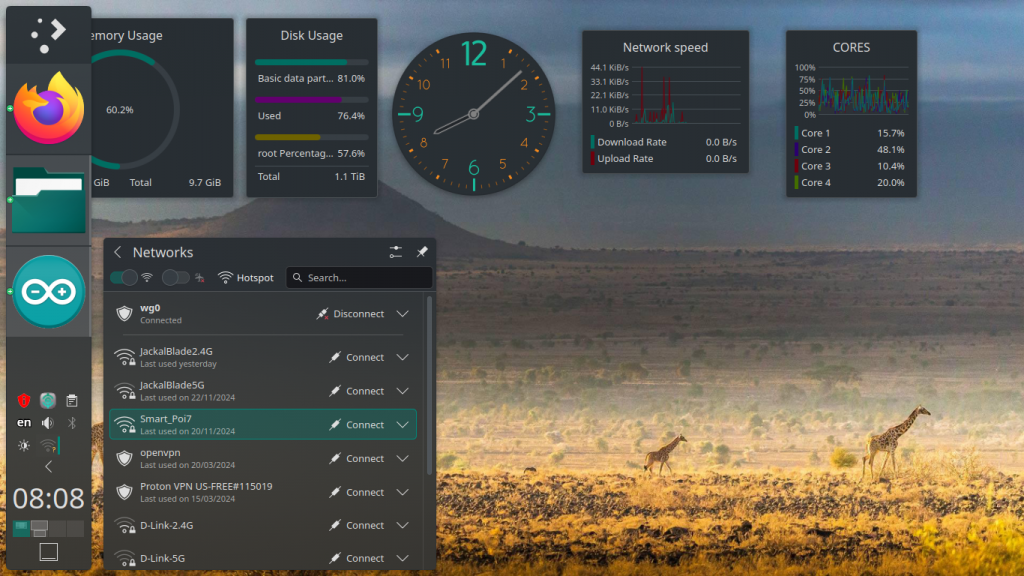
10. It should say “Started, some stuff about files a.bin etc, Changed to image 1 Pattern 1..”
11. Open WiFi settings (I am using Linux, Windows should be similar?) and look for AP
12. Connect to AP (Default name is Smart_Poi7)
13. Once connected to Smart_Poi_7, open the browser (tested on FireFox and Chrome)
14. In Firefox open a new tab – you should see this:
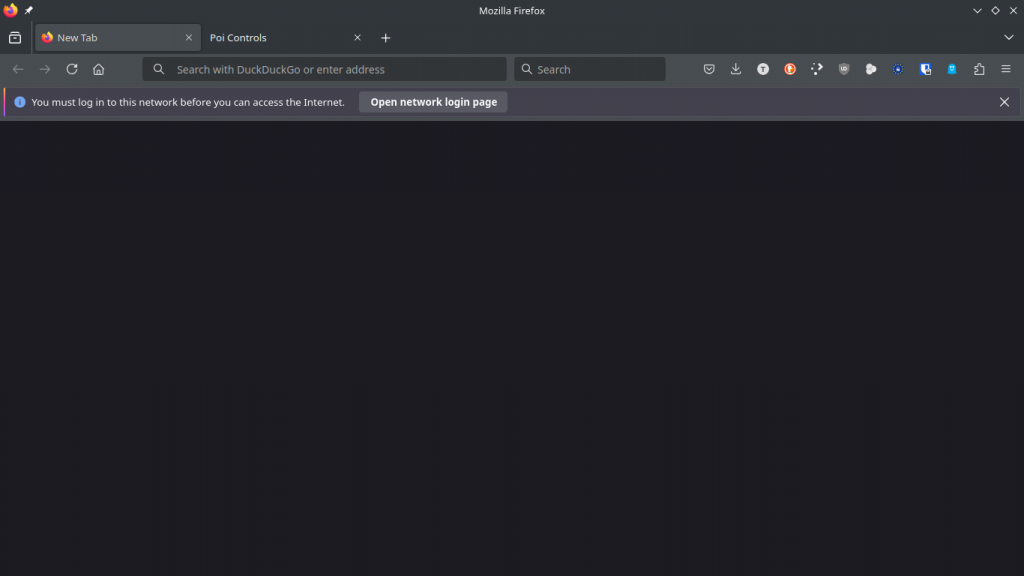
Clicking on “Open Network Login page” takes you to the built-in controls.
In Chrome you have to manually type in the Main poi IP address, In Chrome it looks like this:

This is just a basic web page which is on the poi already.
15. Test the built-in control page by changing the Pattern to 2. The Serial output should reflect this..
pattern change requested: 2
Changed to image: 0 Pattern: 2
16. Now you are ready to try the smartpoi-js-utilities or Android app. https://www.circusscientist.com/smartpoi-8-0-software/
If you got this far it really should work!