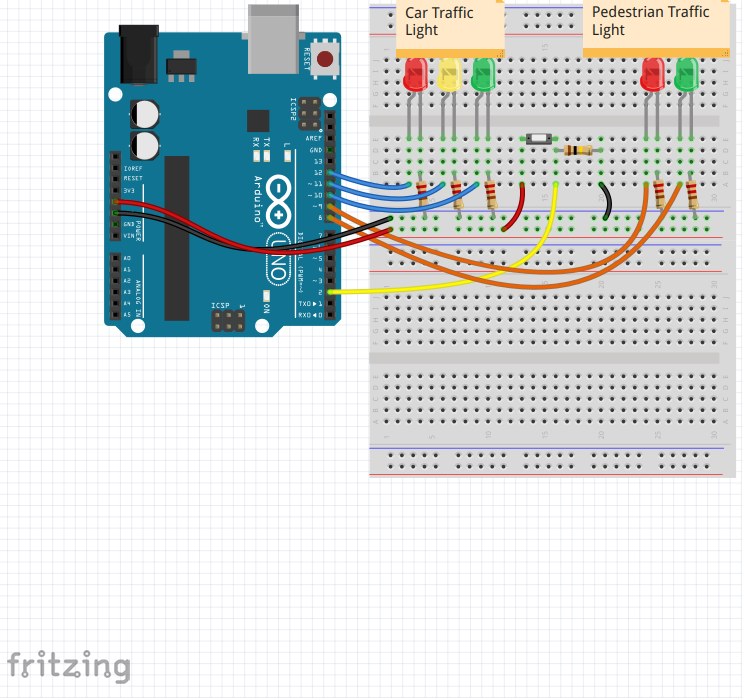
I made this for my son, it’s a great learning experience for kids. I even programmed a flashing red light to tell the pedestrians to hurry up, just like the real thing.
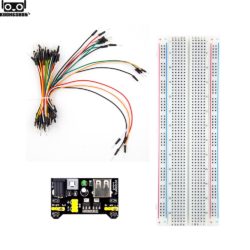
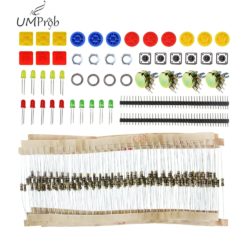
Components
Setup
You can download the fritzing file here. The Arduino code is included in the download, but lets have a look at it:
 int carRed = 12;
 int carYellow = 11;
 int carGreen = 10;
 int pedRed = 9;
 int pedGreen = 8;
 int pedBtn = 2;
 int val = 0;

 boolean cross = false;

 void setup() {
   pinMode(pedRed, OUTPUT);
   pinMode(pedGreen, OUTPUT);
   pinMode(carRed, OUTPUT);
   pinMode(carYellow, OUTPUT);
   pinMode(carGreen, OUTPUT);
   pinMode(pedBtn, INPUT);

 }

 void loop(){
   digitalWrite (pedRed, HIGH);
   digitalWrite (carGreen, HIGH);
   val = digitalRead(pedBtn);

   if (val == HIGH) {
     cross = true;
   }

   if(cross){
     delay(500);
     digitalWrite(carGreen, LOW);
     digitalWrite(carYellow, HIGH);
     delay(3000);
     digitalWrite(carYellow, LOW);
     digitalWrite(carRed, HIGH);
     delay(3000);
     digitalWrite(pedGreen, HIGH);
     digitalWrite(pedRed, LOW);
     delay(10000);
     digitalWrite(pedGreen, LOW);
     for(int a = 0; a < 15; a++){
       digitalWrite(pedRed, HIGH);
       delay(100);
       digitalWrite(pedRed, LOW);
       delay(100);
     }
     digitalWrite(pedRed, HIGH);
     delay(1000);
     digitalWrite(carYellow, HIGH);
     delay(3000);
     digitalWrite(carYellow, LOW);
     digitalWrite(carRed, LOW);
     cross = false; //back to cars going
   }
 }
Running the code
Upload using Fritzing, or Arduino IDE. Test out the button and explain crossing the road to your kid.
If your child is anything like mine, he/she will get bored of this pretty quickly. That’s why I added another switch and a blue LED for DISCO MODE!


