Writing code for products is different from writing code for yourself.

And that is differrent again from writing code for other developers (eg: open source).

Differences between coding styles explained

There are three types of code. I am going to attempt to differentiate between the different approaches by showing an example based on ESP8266 here.

1. Coding for yourself

This type of code is the easiest to do of course but comes with it’s own pitfalls and requirements. I would say that a git repository and README is a minimum requirement for any project, even if it’s just a test to see if something works. I have been guilty of ignoring this and later coming back to a project to find I have no idea of what it is about, or even how long I worked on it and even whether it worked or not.

2. Coding for a product

Now one needs to take into account the potential users of the product. For example ESP8266 WiFi connection now needs a web interface to input the password. A manual is also needed to explain how to use the product. The coding style can remain the same (although for all coding I recommend at least describing the various functions in the code)

3. Coding for other developers

If your code is going to be read and extended by other developers, other considerations come to the fore. Documentation, reproducible tests and linting are important, as well as a README which explains what the code if for as well as how to run it. For ESP8266 Arduino IDE is no longer good enough, as it doesn’t have the means to specify library versions – which one reason I have moved over to using PlatformIO almost exclusively for coding (that and code highlighting and navigation with VSCode)

Conclusion

So there you have it – a quick rundown and not very complete but hopefully you get the idea. The requirements for Open Source development are pretty exacting – something that has taken me a long time to realise, and am still working on perfecting in my own code.

MQTT port 1883 – access denied!

Well things are going really well with the LED Website Indicator project. I re-wrote the firmware, this time using the amazing Autoconnect library (UI for managing MQTT broker and WiFi) and PubSubClient.

The new D1 mini and shield have arrived at the factory – along with a fancy new 3d print cover, so we uploaded the firmware and reached out to friends to test the WordPress plugin – in order to see some flashing lights. No lights. One friend even had his managed WordPress install locked (he wasn’t allowed to install new plugins, some sort of restricted mode – luckily a call to customer support resolved the issue quickly).

After a lot of troubleshooting I finally worked out the issue (on two different servers so far): the admins have locked down outgoing messages and closed most ports – including the one I’m using in the LED-SITE-INDICATOR WordPress plugin, port 1883. Long story short, we can’t have outgoing MQTT messages on all servers (it works on mine though).

So I had to re-write the PHP code as well, removing the MQTT and replacing with http call to an api – which then does the MQTT stuff, on my own server which is allowed.

Conclusion

Check out the LED Website Indicator project – launching any day now!

I made an LED indicator for my portfolio site

Job hunting is tough – I’m busy until February 2022 but already feeling anxious about finding the next gig. That’s why I wanted to give myself a bit of an incentive – a visible indicator of success. I decided that whenever someone visits my portfolio site, I wanted an LED to light up. Read on to find out how I did it (using Flask, http requests, and an ESP8266)

Self Hosting

I recently had a bad experience with an online service shutting down on me – had a bit of a rant about it, although in the end it wasn’t too serious – but I am now determined to do self-hosting wherever possible *disclaimer: my current work project is hosted on Google Cloud, and I’m using Firebase and push services for some Android apps also.

The Flask api

The first step was to create a simple Flask api to facilitate tracking of site visits. This is based on this minimal flask api template on GitHub. I used a simple global variable to keep track of website visits because I’m doing this in my spare time and because it works fine – and I love boolean switches. Here is how it works in one simple gif:

Think of the hand as a visitor to my site, and the “switcher offer” is the ESP8266 at my home checking the api (the switch)

HTTP request from resume site

Since I am learning React my portfolio site was a good way to have another look at the framework. I used this single-page React resume site template as a base, adding my own details and an http request to the Flask api endpoint on load.

ESP8266 code

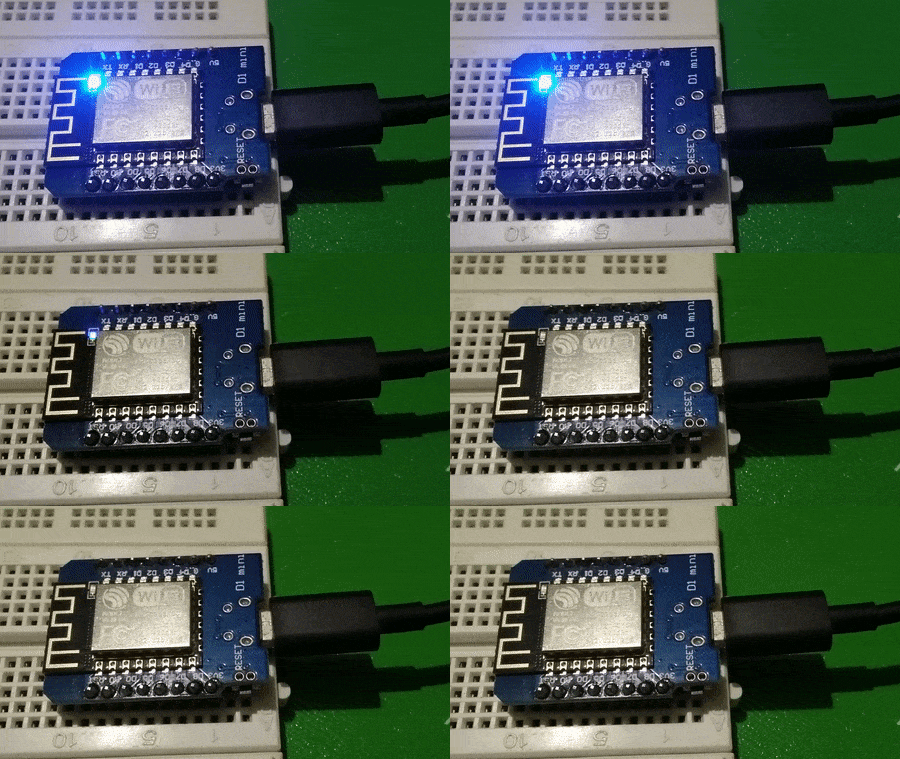
I used the basic http requests example with my own api details, and added in EEPROM code to record the incrementing number of visitors to persistent memory. The ESP8266 module checks once per second with the api whether there has been a new visitor to my site. If there has, the built in LED on my D1 Mini switches on. Although I have mostly moved over to using PlatformIO, for this very simple sketch I used the Arduino IDE.

Deployment

Like I said, this one is self-hosted. I’m using Digital Ocean droplets, which are a fixed cost of 5 dollars per month, for as many sites and services you can cram on there (trust me, it’s a lot). The React site was surprisingly simple to deploy, just build, copy the build folder and point Nginx at it. Flask is a little bit more complicated, compared to how easy it would be on Google Cloud, for example, but a few config files are really not too much to handle.

The result

Whenever someone visits my website, the LED lights up. Simple as that. And I can plug in and check how many visitors I have had. I’m hoping that one of those visitors will like what I do enough to hire me next year!

Visit my site https://devsoft.co.za to light up my visitor tracking LED.

Potential improvements

If I was making this into a product, I would certainly upgrade the Flask API to include a database to keep track of the number of visits, rather than doing this on the ESP8266 EEPROM – which maxes out at 255!* Obviously this could include a web interface for accessing the information, I could log the times… But most of this tracking stuff has been done already – analytics for websites. Perhaps the ESP8266 could pick up some of this information and display it on an LCD screen. A flask service for accessing Google Analytics from Arduino perhaps? Let me know if this is something you are interested in!

Also, proper authentication – if this wasn’t just for myself… JWT, rate limiting, CRUD endpoints and a web interface to change LED behaviour.

And maybe an RGB LED would be nice, then I could add in some of my other websites, in different colours!

*apparently the Arduino EEPROM library works differently on ESP8266 – ignore that part of the code, I need to update it (the counter still increments while the module is plugged in, though)