1. First POV
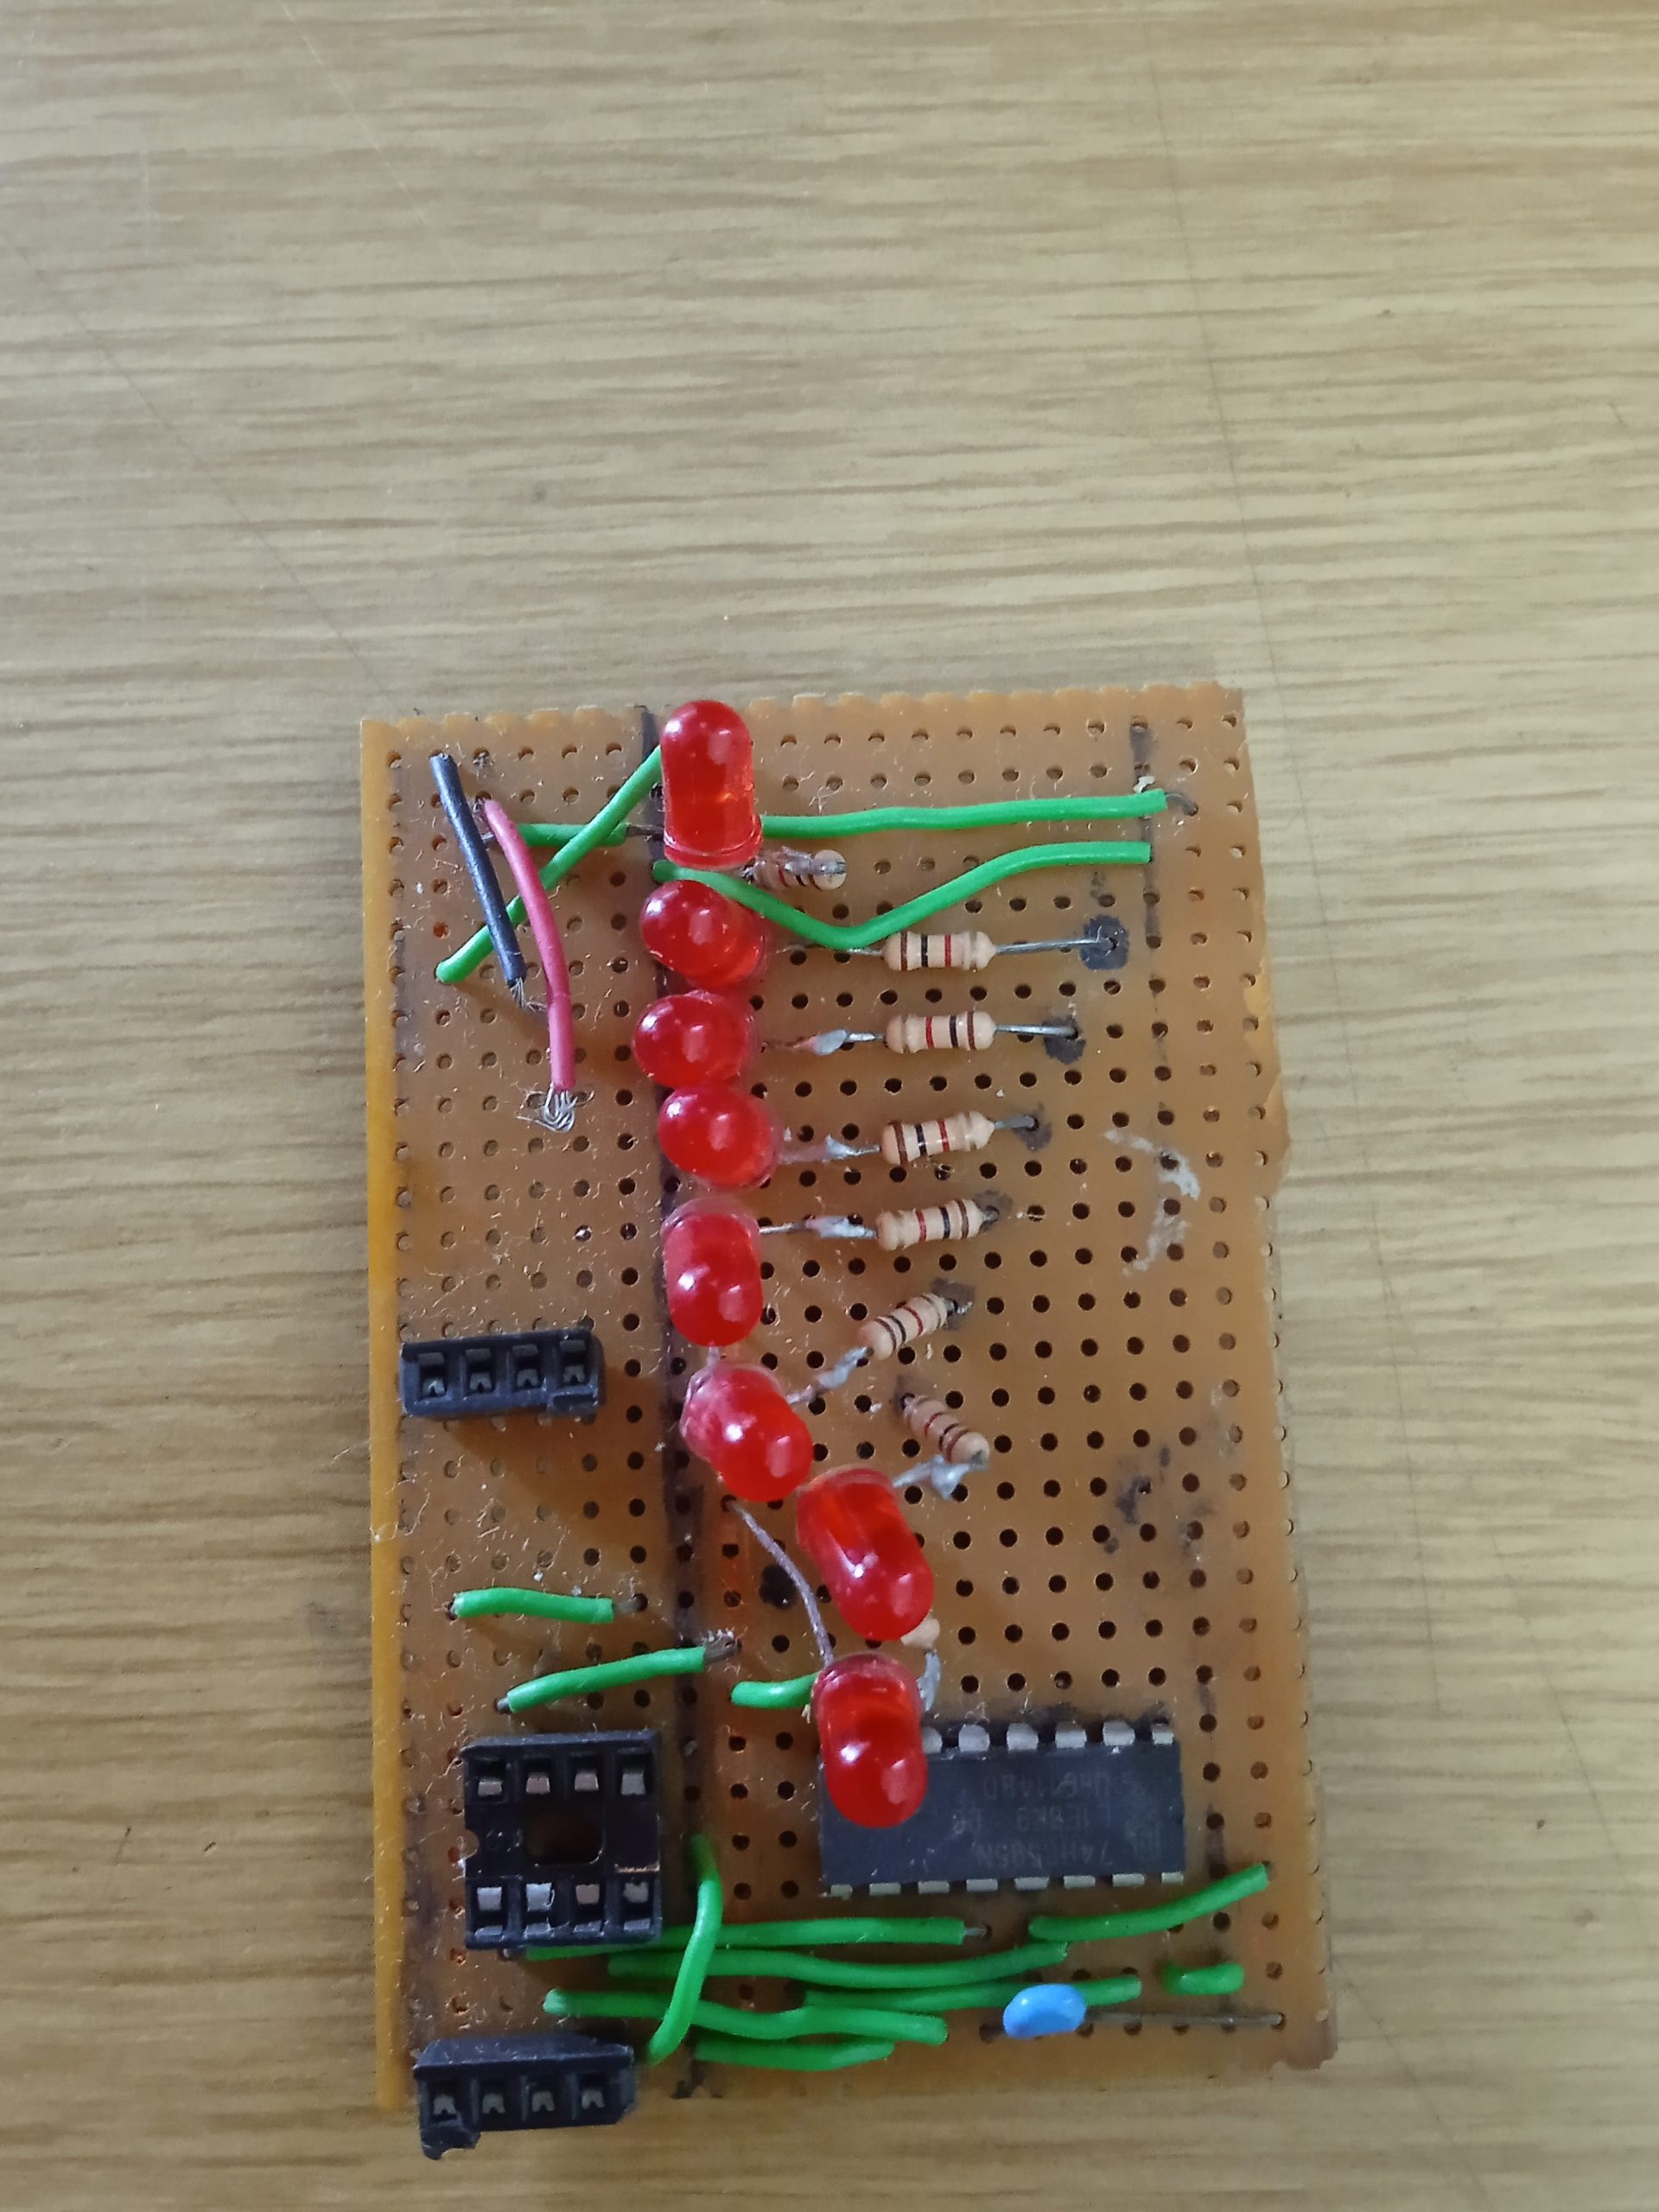
I used Attiny85 for this one, and stripboard, with another chip to multiply the outputs.
2. 30 LED hand soldered stripboard single colour version
My first actual working LED POV poi – this one still works! I used charlieplexing to drive 30 LED’s with Atmega328 chip but the patterns had to be uploaded as part of the program using PROGMEM.
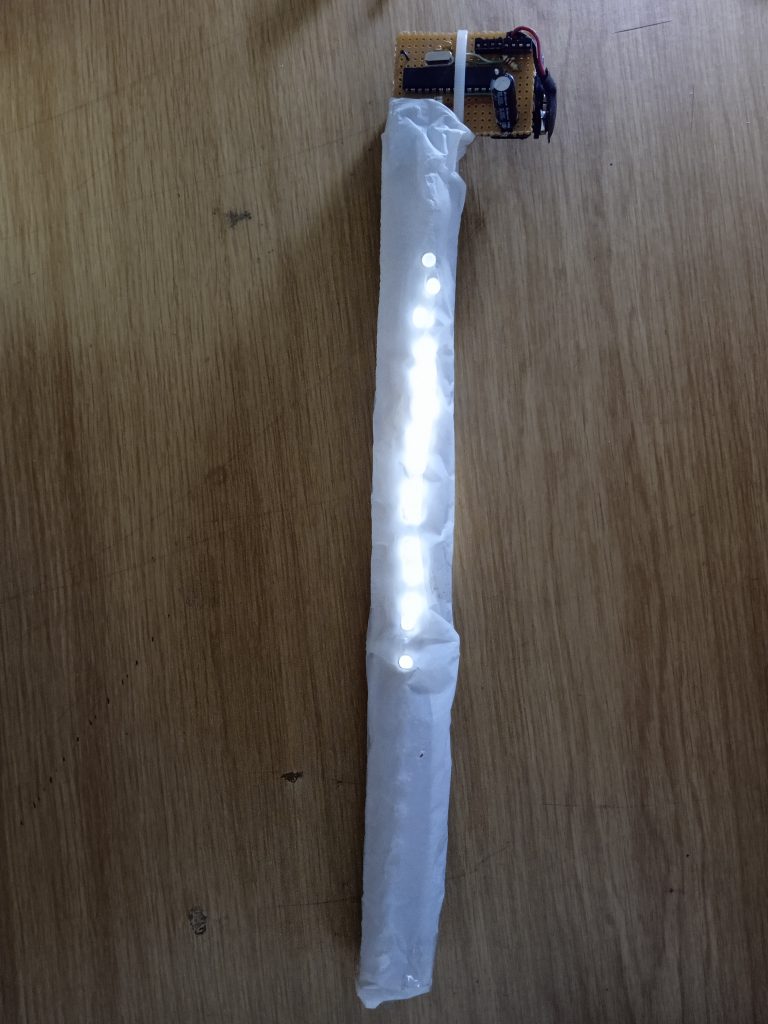
I covered the LED’s with plastic to diffuse them a bit. For different colours I had some nice opaque coloured plastic to use – the LED’s are white.
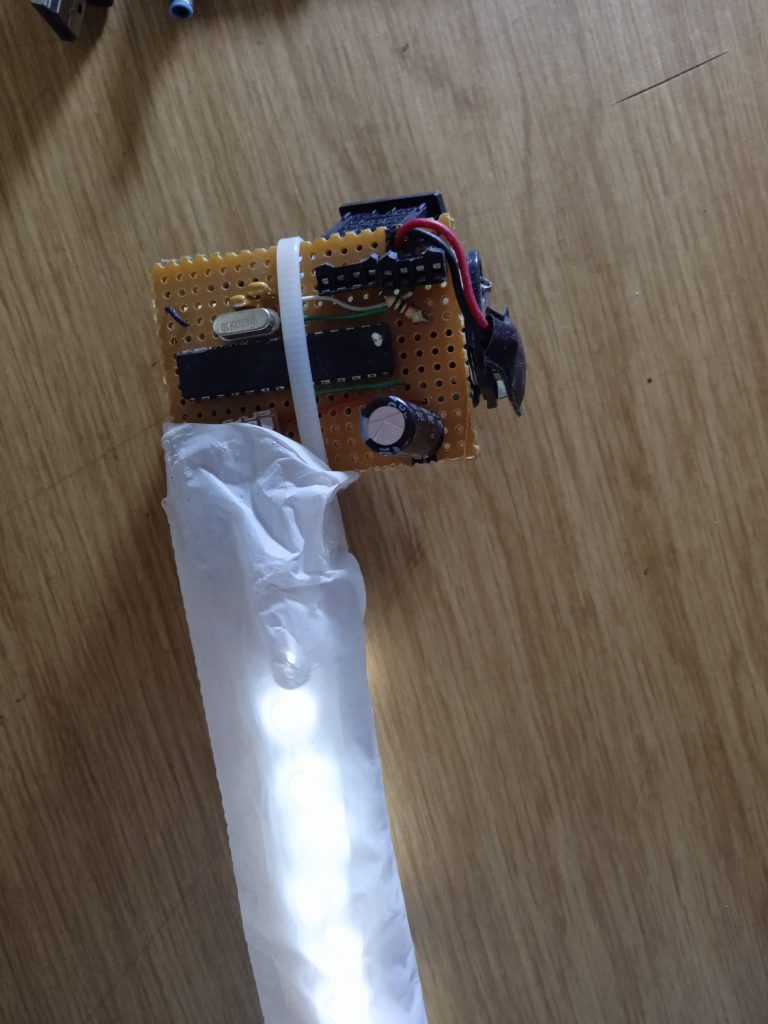
Atmega328 (the one from original Arduino Uno) on stripboard.
3. Arduino Nano with WS2812 strip:
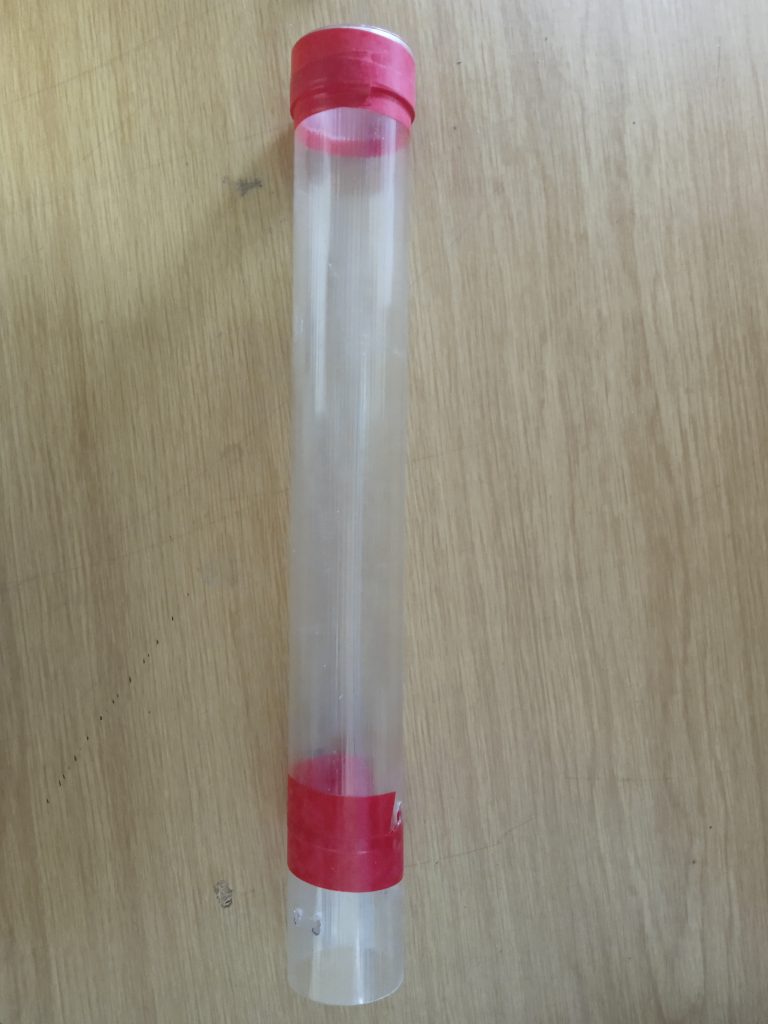
Not sure what happened to the insides of this one. My first full colour poi – 36px! I started using compressed .bin files in Spiffs file system for images due to lack of space.
4. 58 px poi with Atmega1284P – big boy chip
First custom circuit board printed – no more stripboard! Atmega1284 was 5x more expensive but had much more memory for pics and so many pins I didn’t need! Also, laser cut parts and PolyCarbonate tube.
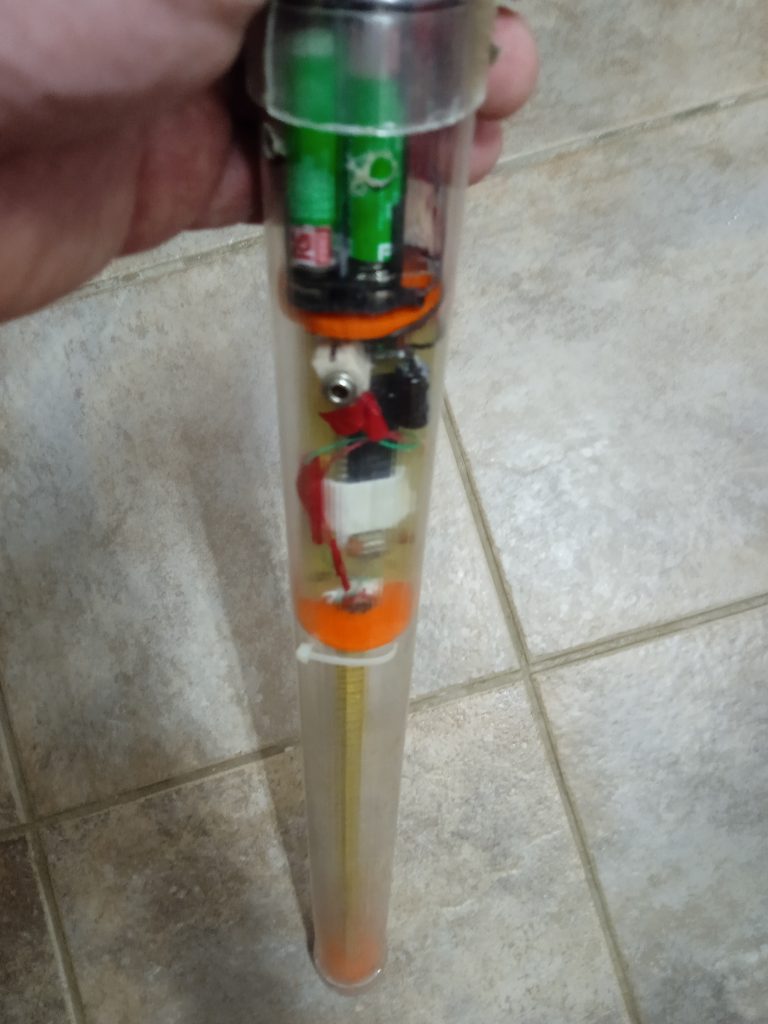
This one still works too – although the programmer doesn’t.
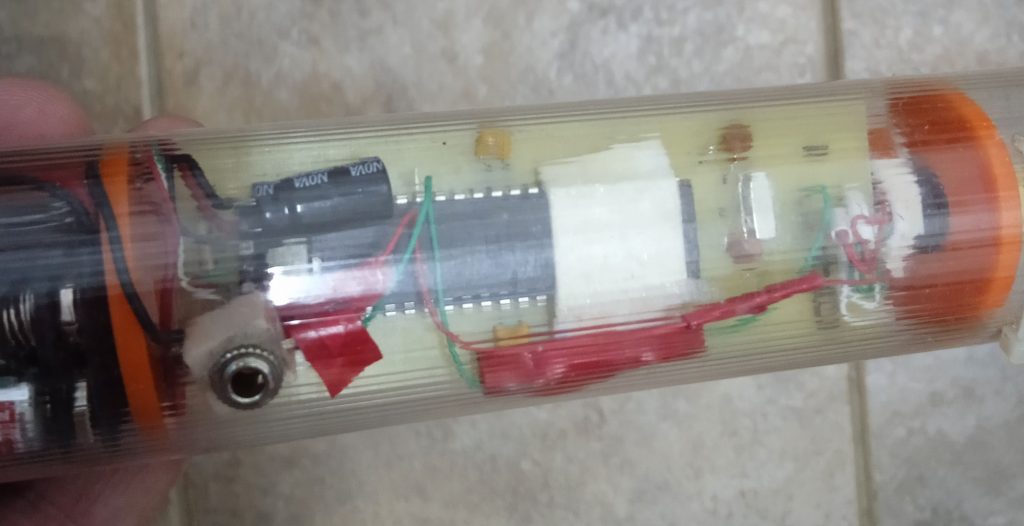
Experiments with control.
Before settling on ESP8266 I tried a lot of other things, like attaching Bluetooth and RF to the Atmega based poi I had. Ultimately these experiments failed due to lack of bandwidth and I moved on to WiFi.
5. ESP-01 36px
The first really smart poi – controlled by the Android app, with Spiffs file system upload over WiFi (later LittleFS). Also, 3D printed parts!
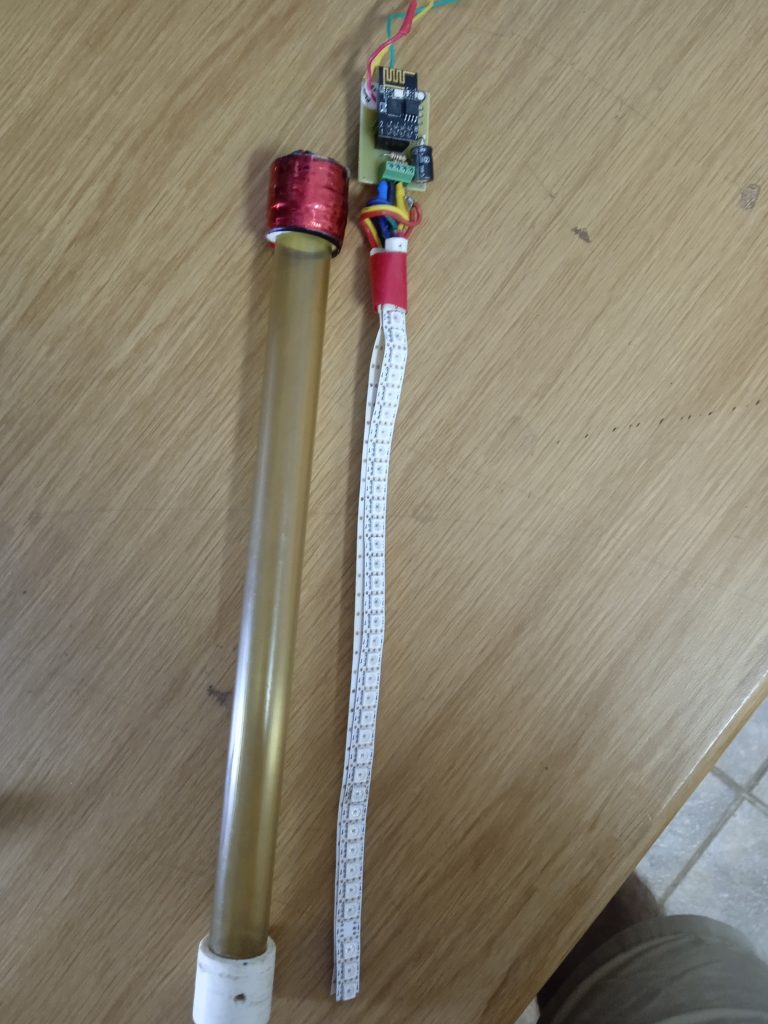
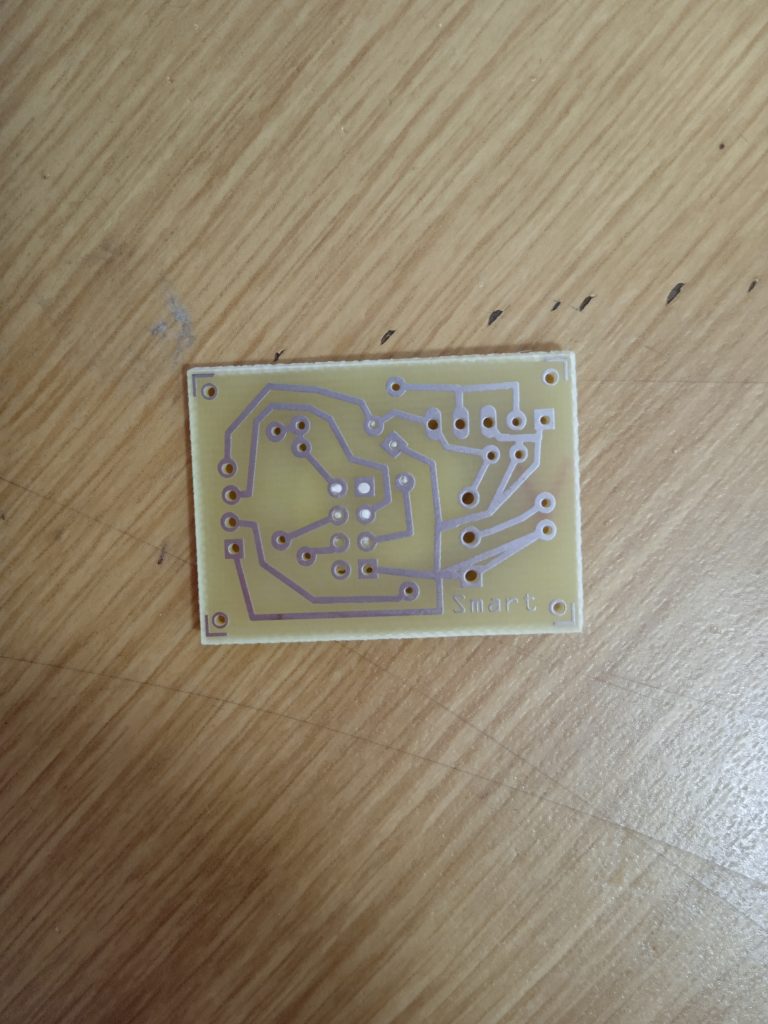
Still proud of this little circuit!
6. 72px Poi – for shows!
Same as the 36px ones, with ESP-01 but bigger.
7. and finally 8. Upgrading the LED’s and moving to D1 mini:

120px poi
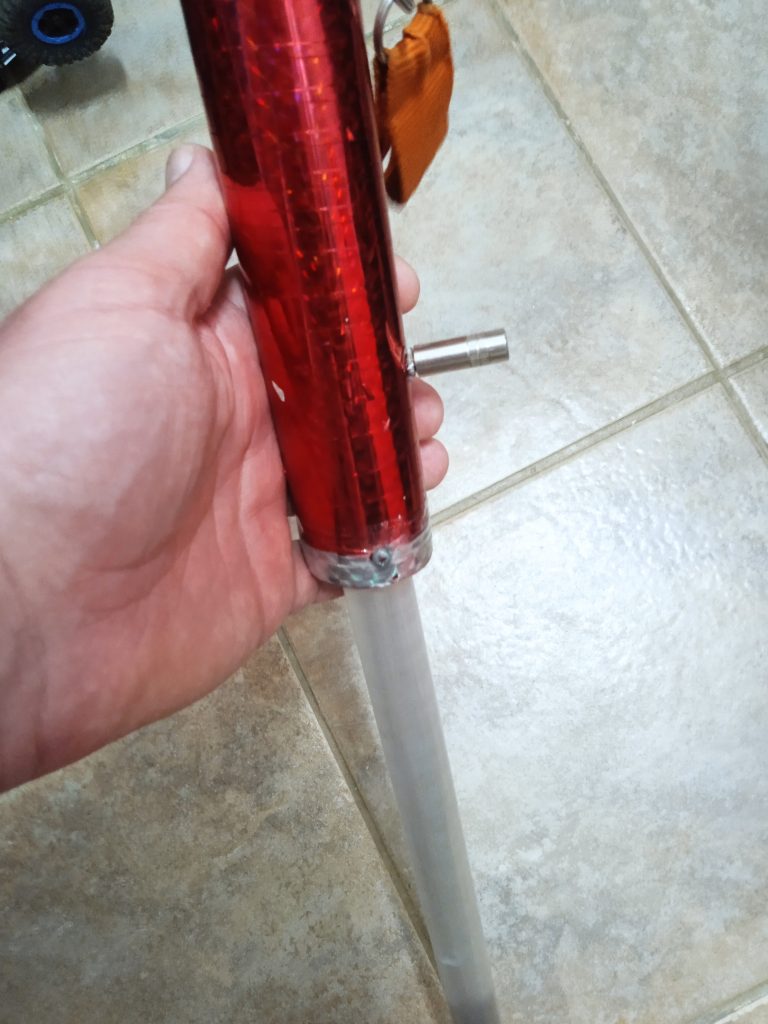
60px “mini” poi
The future:
This all happened over the course of 10 years. Now with the help of my Patreon supporters and modern tech I have AI supported development for the next version – Magic Poi.
Currently working on the long awaited Magic Poi product launch – come support me on patreon!
UPDATES:Sign up for our update alerts:
